

I just had the loveliest of weekends! I got to catch up with some of my best friends, spend some time with the Mr. and work outside in the sunshine all day today! :) Such a good time!
I was doing some research for our Brownie meeting tomorrow night and was trying to find some cool ways that they kids could decorate some Easter Eggs. There were so many creative and easy ideas out there, I thought I'd share some of them with you!
My girls are all in either grade 2 or 3 so they're at that age where they want to do a more detailed craft, but you still want to make it simple enough for them so that they can achieve the look they want without getting too frustrated or discouraged. I think these techniques will do just that and the kids will have a blast making them!
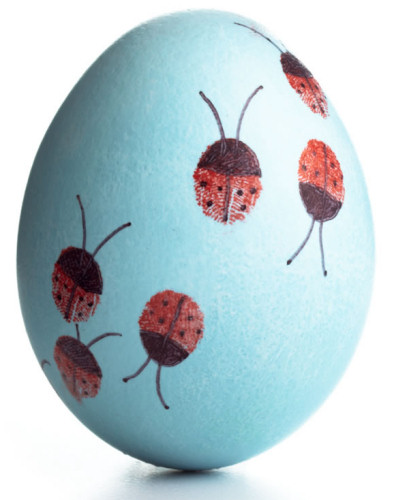
I love these little finger print ladybugs. By simply dying the eggs then using their finger prints and markers you can make this design. I think little catepillars would be super cute too! Maybe in a rainbow of colours.
Create different layers and almost a plaid like look by dipping eggs in different colours. Or dab with bingo dabbers, or layer with fun shaped stickers. Remove the stickers once the eggs are dry to reveal your silhouettes.

Dying with Kook-Aid!!! I am soooo going to try this! The link below says to mix one pkg with 2/3 of a cup of water. We are so doing this!


Use pieces of felt to create little barn yard animals. I think little pink pigs would be super cute too!

OMGosh! Tattoos! I'll be picking these up as well! Rub on tattoos make a simple but lovely decorated egg. Perfect for a Easter dinner centre piece!

And who could forget chalkboard paint! I prefer the spray kind. Spray the eggs and let them dry. Let the kids to nuts using regular chalk or liquid chalk board pens!

Hope you all have fun decorating!
Love Tam xo
No comments :
Post a Comment